Creating DRUID Bots
Welcome to the process of building your first DRUID conversational bot! This guide provides the essential, step-by-step instructions needed to go from an initial setup to a fully published bot with foundational conversational flows.
Step 1: Set up and name your bot
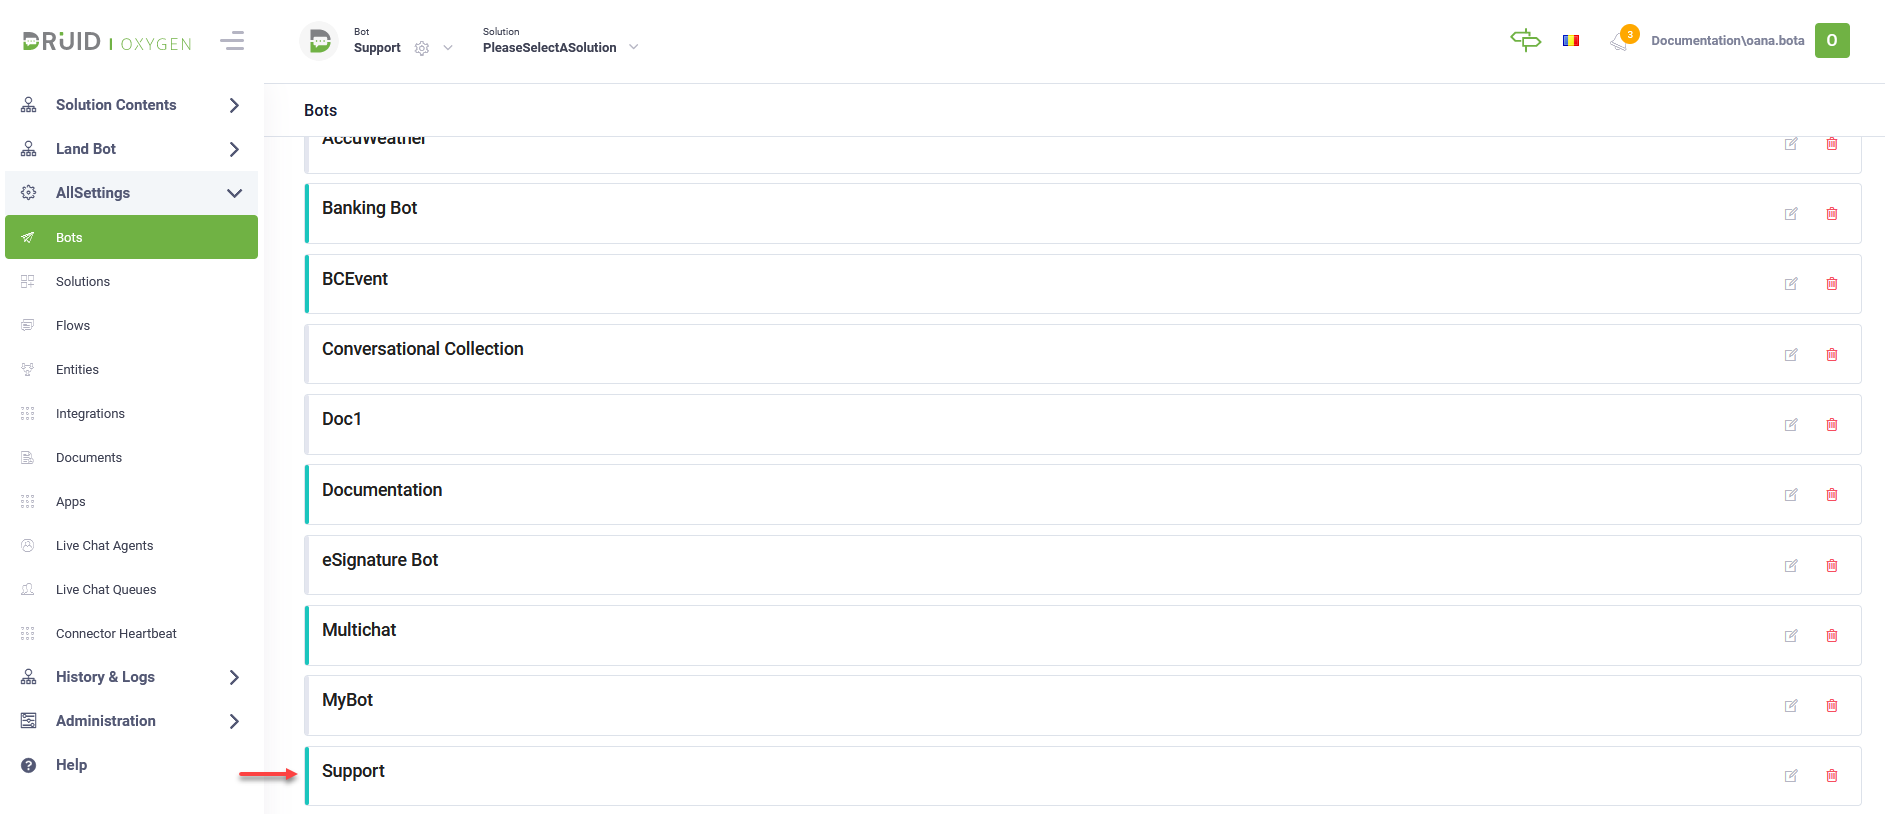
- Log in to your DRUID tenant.
- In the header, click on Bot and select Add New Bot.
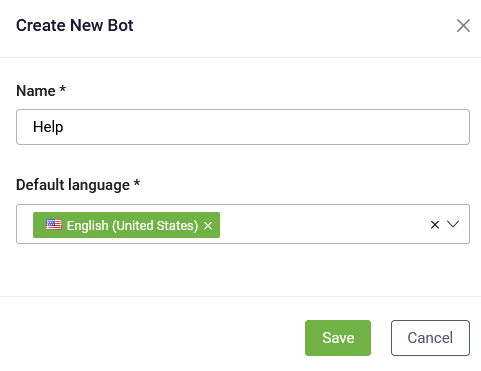
- In the Create New Bot modal:
- Enter a unique name for your bot in the Name field.
- Choose the Default Language for the bot.
- Click Save. The page refreshes, opening the bot settings on the Details tab.

NOTE: Bot names must be unique within your tenant. If a name is already in use, the creation process will fail.
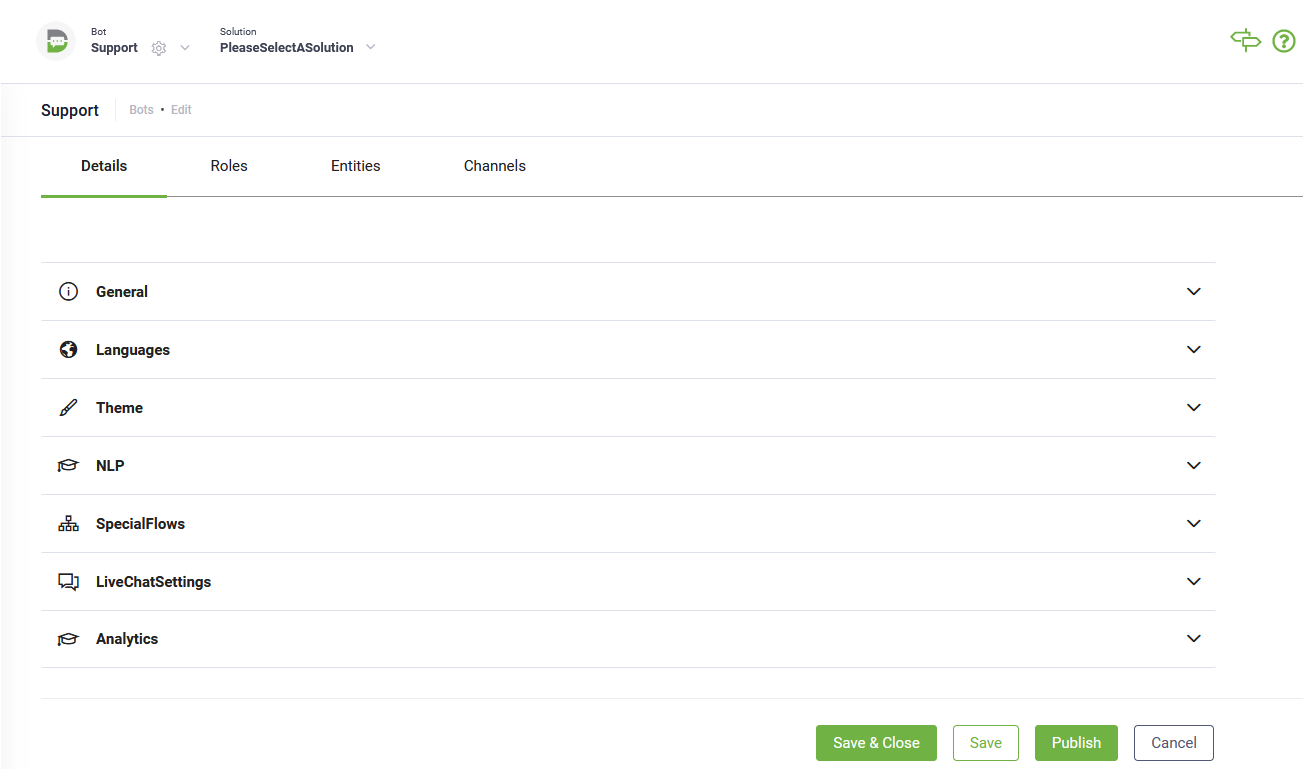
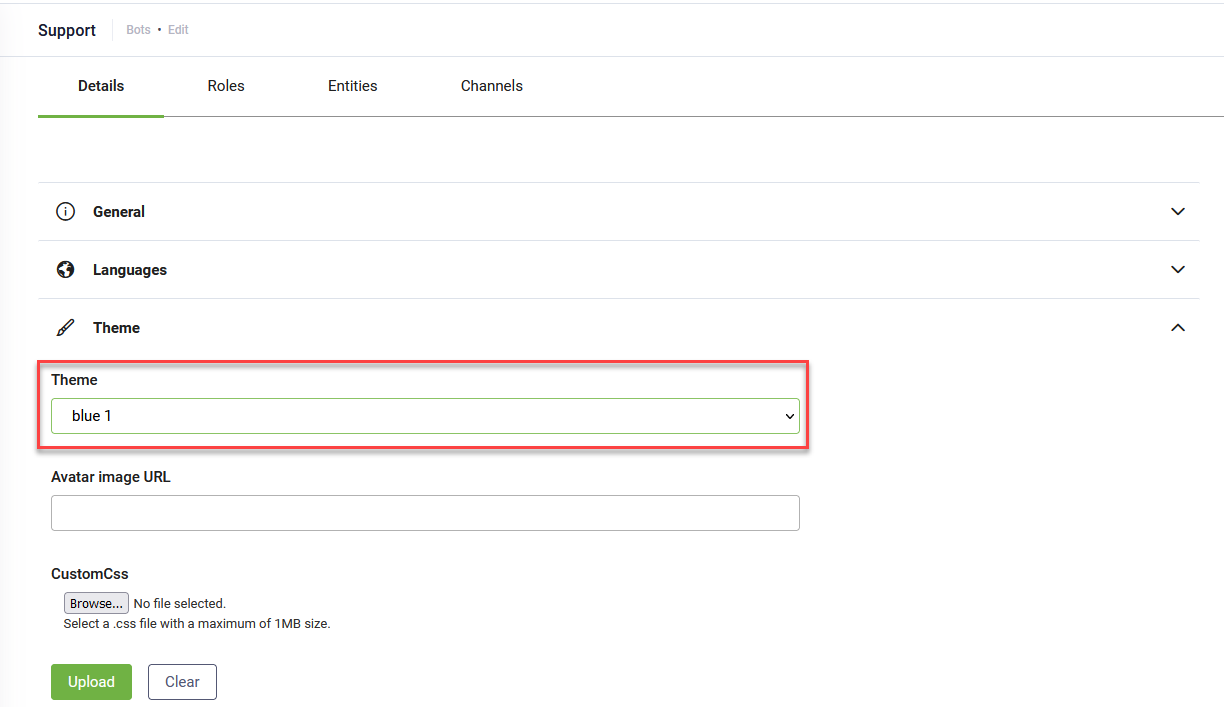
Step 2: Configure the bot appearance
On the bot settings page (Details tab), configure the bot appearance:
- Click the Theme section header.
- Enter an image URL in the Avatar image URL field to set your bot avatar.
- For advanced configuration, click Customize webchat and configure the desired webchat settings. For more information, see WebChat Common Styling and Behavior (Bot framework v4).
- Click Save at the bottom of the page to apply these settings.
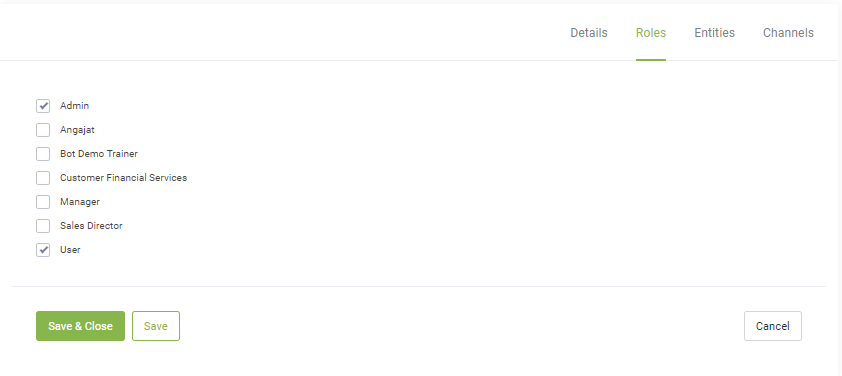
Step 3: Select user roles
Bots interact only with users who are assigned specific security roles. Define which roles can access the bot.
- Click the Security tab.
- Click the Used by section header.
- Verify the default Admin and User roles are checked to allow all authenticated and unauthenticated users to interact with the bot.
- Select any additional roles based on your target audience.
- Click Save.
Step 4: Publish the bot
Publishing the bot is essential to make it functional and provision all the required resources in your DRUID environment.
- Click the Details tab.
- Click the Publish button at the bottom of the page.
- After clicking Publish, a notification appears at the top of the page: “Request for provisioning was successfully sent!”. Monitor the bot provisioning status using the following color indicators:
- Orange: The request is in progress.
- Green: The request has been successfully completed.
- Red: The process has failed. If bot publishing fails, please contact the DRUID Technical Team.
-
After publishing, you can test the bot. Open the chat bubble on the right side and type your messages.
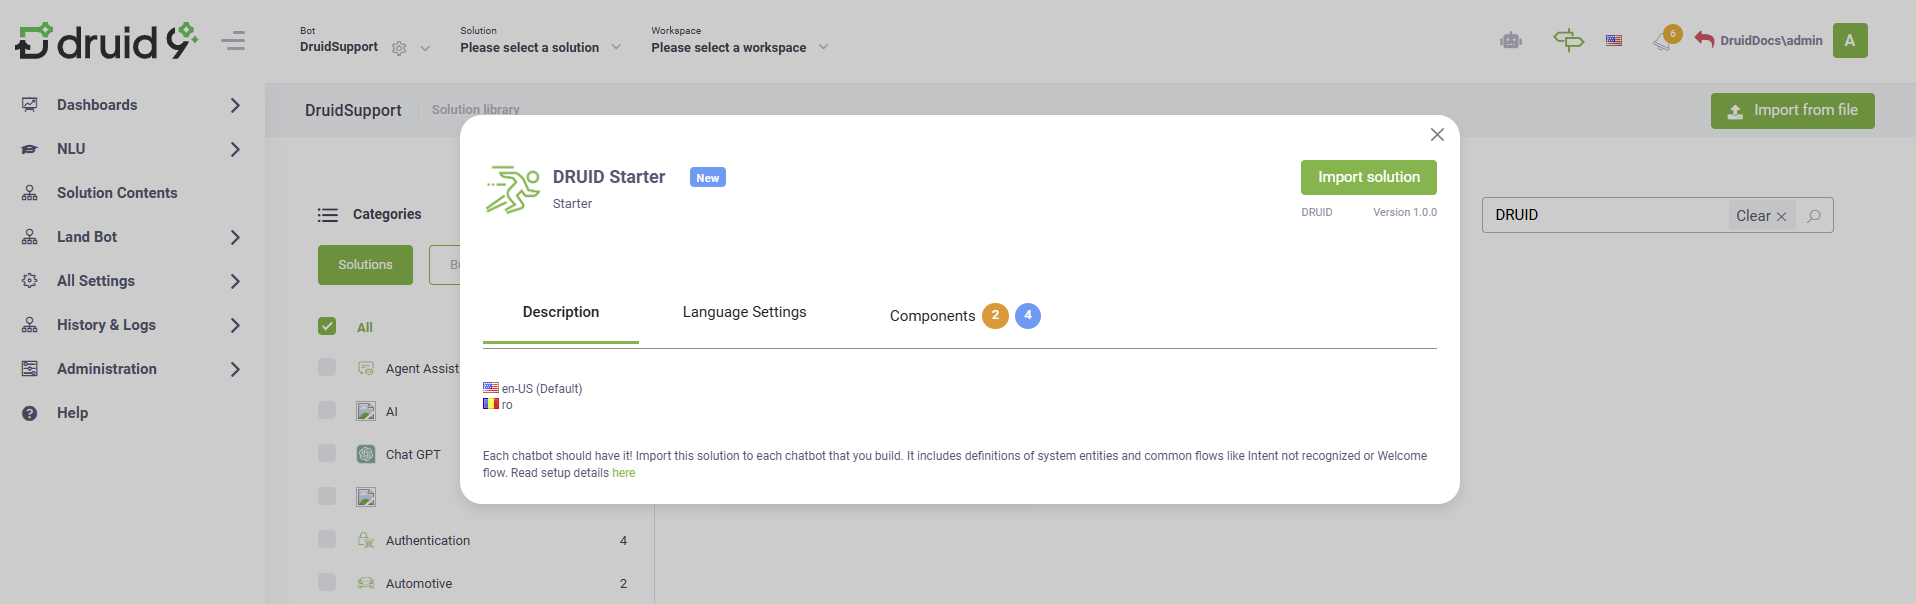
Step 5: Import DRUID Starter solution
After publishing, the bot lacks conversation flows. Import the DRUID Starter solution to give your bot foundational intelligence.
- On the header, click the Solution dropdown, and then select Import solution.
- In the Solution Library that opens, search for DRUID Starter and import the solution. The DRUID Starter includes definitions of system entities and common flows.
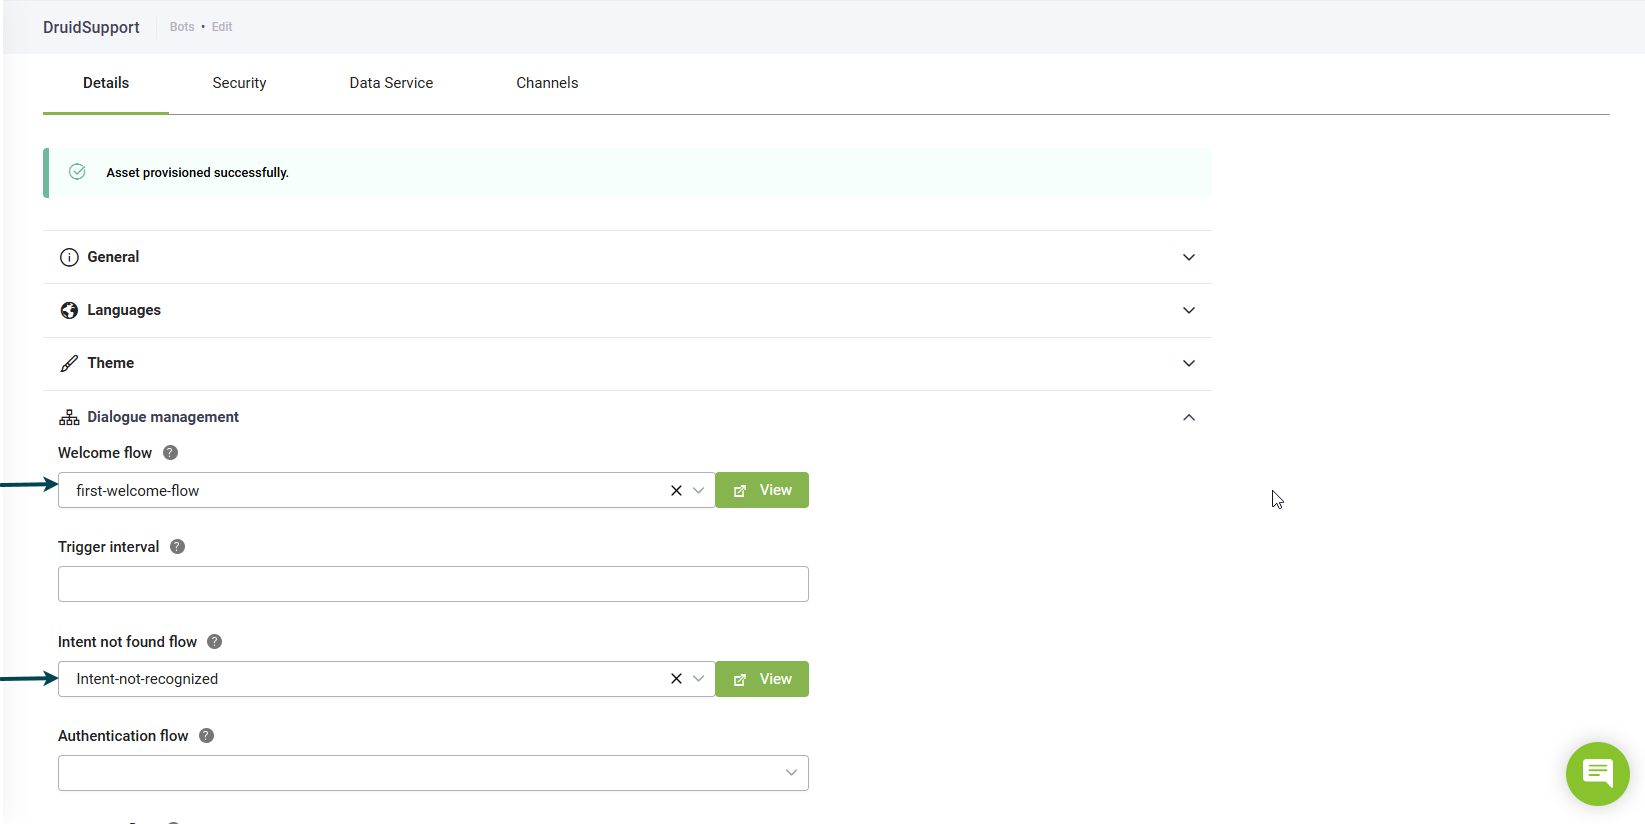
- Navigate back to the bot settings page and click the Dialogue management section header.
- Select the imported flows from the Welcome flow dropdown and the Intent not found flow dropdown.
- Click Save at the bottom of the page to save the bot configuration.